Banded Panel Properties
You can use the Banded Panel Properties dialog box to edit the properties of a banded panel. This topic describes the properties in the dialog box.
This topic contains the following sections:
You see these elements on all the tabs:
OK
Select to apply any changes you made here and close the dialog box.
Cancel
Select to close the dialog box without saving any changes.
Help
Select to view information about the dialog box.
General Tab Properties
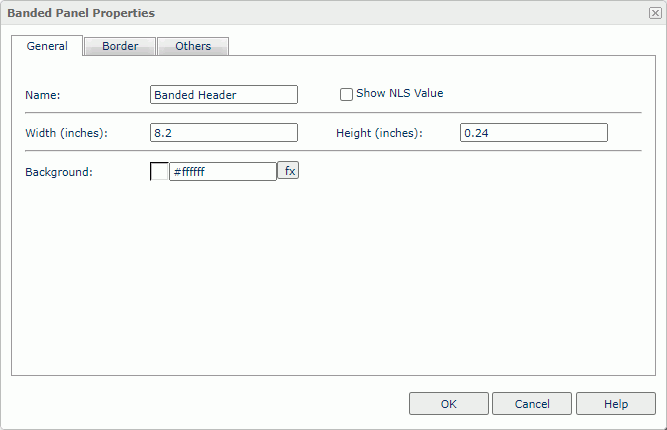
Use this tab to update general information of the banded panel.

Name
Specify the display name of the panel.
Show NLS Value
Select to show the translated name for the display name of the object in the Name text box if you have enabled the NLS feature and translated it, and when you have not modified the display name of the object.
Width
Specify the width of the panel in inches.
Height
Specify the height of the panel in inches.
Background
Specify the background color of the panel.
To change the color, select the color indicator to access the Select Color dialog box, and then specify a new color. You can also type a hexadecimal RGB value to specify a color, for example, #9933ff.
If you want to make the background transparent, type Transparent in the text box.
Border Tab Properties
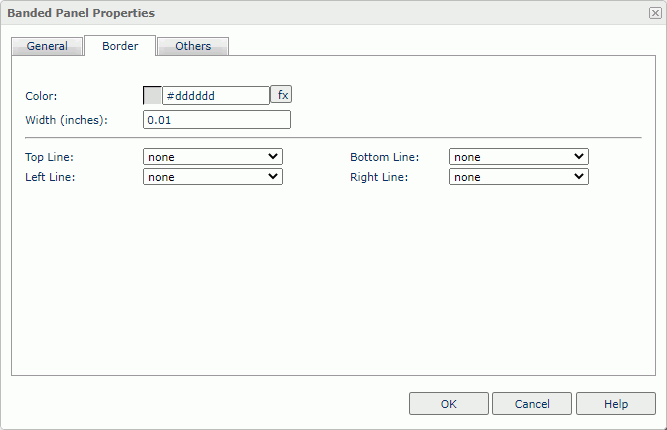
Use this tab to specify border information of the banded panel.

Color
Specify the border color.
Width
Specify the border width in inches.
Top Line
Select the style of the top border line.
Bottom Line
Select the style of the bottom border line.
Left Line
Select the style of the left border line.
Right Line
Select the style of the right border line.
Others Tab Properties
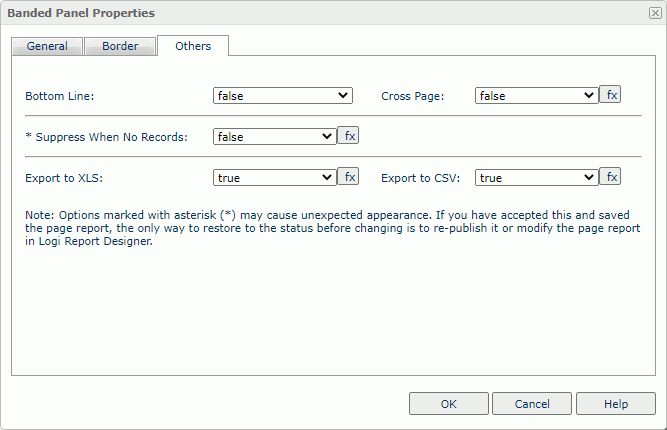
Configure some miscellaneous settings.

Bottom Line
Select true if you want to show the bottom line of the panel.
Cross Page
Select true if you want the panel to cross into the next page when the current page cannot hold the whole panel, or false if you want the whole panel to display in the next page.
Suppress When No Records
Select true if you want to hide the object in the report when no record returns to its parent data component.
Export to XLS
Select true if you want to export the object when you save the report as an XLS file (make sure to check Data Format in the Export dialog box).
Export to CSV
Select true if you want to export the object when you save the report as a TXT file with Delimited Format.
 Previous Topic
 Back to top