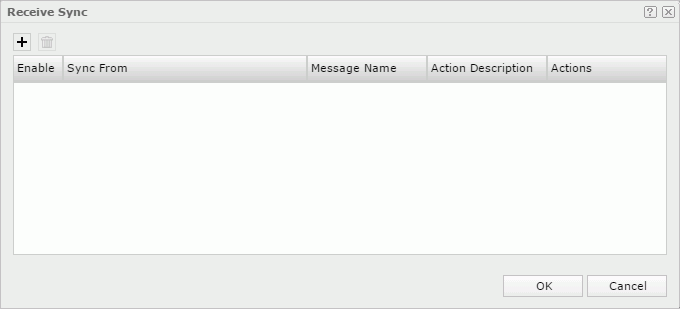
Receive Sync Dialog Box Properties
Use the Receive Sync dialog box to define the synchronization messages that a data component is going to receive and specify the actions to trigger as a response to each of the messages. This topic describes how to receive synchronization messages.
Server displays the dialog box when you right-click any object in a data component of a dashboard and select Receive Sync from the shortcut menu.

 Add button
Select to add a new message line.
 Remove button
Select to remove the selected message line.
Enable
Clear to disable a message.
-
 Lock button
It indicates that the message is predefined in Report Designer.
Sync From
Select the trigger object from which you want to send out the message.
Message Name
Select the message you want to receive.
Action Description
Double-click the text box, and then type the description for the action the user-defined message will respond.
Actions
Select the action to respond to the received user-defined message.
- *Filter
Select *Filter to perform the Filter action to respond to the received message. You can select the Edit button to open the Web Action - Filter dialog box to edit the filter condition.
 - *On-screen Filter
Select *On-screen Filter to perform the On-screen Filter action to respond to the received message. You can select to open the Web Action - On-screen Filter dialog box to edit the filter condition.
 - *Remove Filter
Select *Remove Filter to perform the Remove Filter action to respond to the received message. You can select to open the Web Action - Remove Filter dialog box to specify the filters to remove from the data component.
 - *Sort
Select *Sort to perform the Sort action to respond to the received message. You can select to open the Web Action - Sort dialog box to edit the sort condition.
 - *Parameter
Select *Parameter to perform the Parameter action to respond to the received message. You can select to open the Web Action - Parameter dialog box to edit the parameter values.
 - *Property
Select *Property to perform the Property action to respond to the received message. You can select to open the Web Action - Change Property dialog box to edit the properties.
 - *Go Down
Select *Go Down to perform the Go Down action to respond to the received message. You can select to open the Web Action - Go Down dialog box to edit the go-down condition.
 - *Go Up
Select *Go Up to perform the Go Up action to respond to the received message. You can select to open the Web Action - Go Up dialog box to edit the go-up condition.
 - *Go To
Select *Go To to perform the Go To action to respond to the received message. You can select to open the Web Action - Go To dialog box to edit the go-to condition.
OK
Select to apply any changes you made here and close the dialog box.
Cancel
Select to close the dialog box without saving any changes.
 Help button
Select to view information about the dialog box.
 Close button
Select to close the dialog box without saving any changes.
 Previous Topic
 Back to top